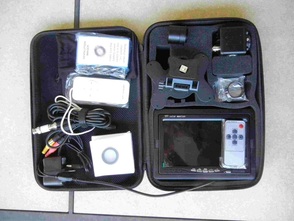
A beginner getting into video astronomy typically purchases a camera with a few essential accessories such as power and video cables and a nose piece adapter. However, this leaves it up to the individual to research and purchase additional important accessories such as a focal reducer, filters, a monitor and a 12V power source. For many of us this is not a problem, but for some it is a hassle and can be downright confusing considering the different decisions that have to be made and the fact that these have to be purchased from many different sources. This may discourage some making them choose to move onto something else.
Fortunately, last year an astronomy supplier in Southern California, Orange County Telescopes (OCT), put together a complete package with all the necessary pieces required to get started with no hassle and at a reasonable cost of $300. The package was called the Revolution Imager and it contained an Lntech 300 PAL video camera, power and video cables, a 0.5X focal reducer, an UV-IR filter, a 1.25" C-Mount adapter, a 7" LCD monitor, a hand-held camera remote control, a 12V Li ion battery with charger and a convenient shock resistant carrying case. Here, in one complete package, was everything needed to get started viewing planets, galaxies, nebulae and other deep space wonders except the telescope and mount. The Revolution Imager apparently was a hit with beginners, as well as, those who already had a video camera but wanted something simple for themselves or for use at public outreach events. Eventually the packages sold out as production of the Lntech 300 came to an end. 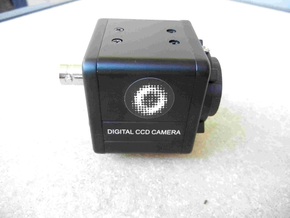
Fast forward to May 2017 and OCT has once again put together an all-in-one package after finding a replacement for the original camera. The new package comes with all the same accessories as before and still sells for $300. It is called the Revolution Imager 2 (R2). The new camera uses the same Sony ICX811 PAL 1/3" CCD as the Lntech 300 which is one of the more sensitive CCDs used in video cameras today. It outputs video with a resolution of 720 x 576.
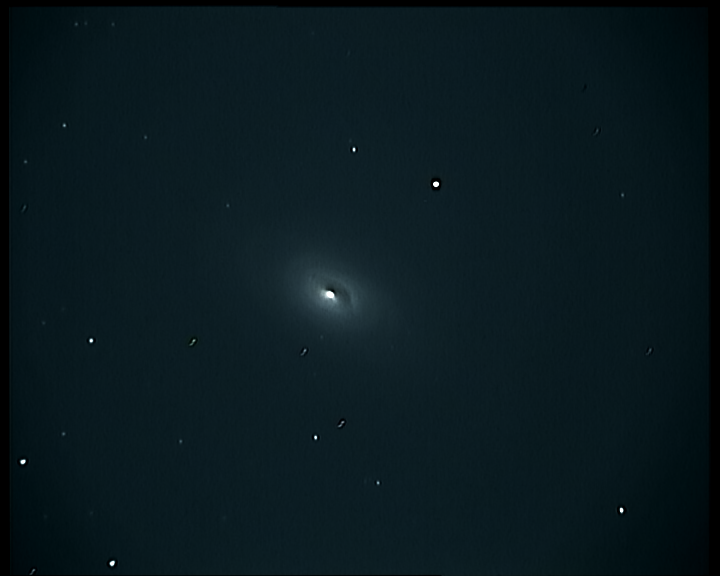
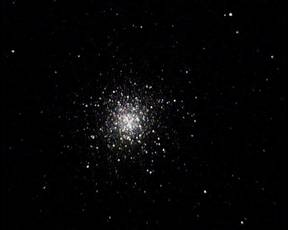 M13 9.25" SCT Backyard 5sec M13 9.25" SCT Backyard 5sec
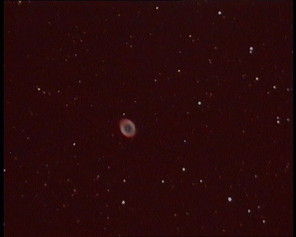
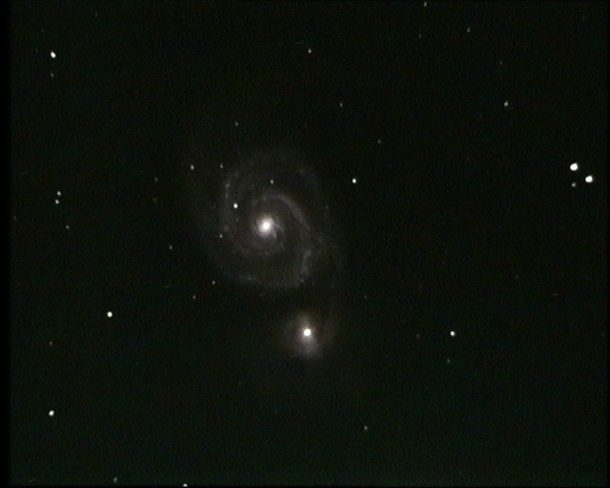
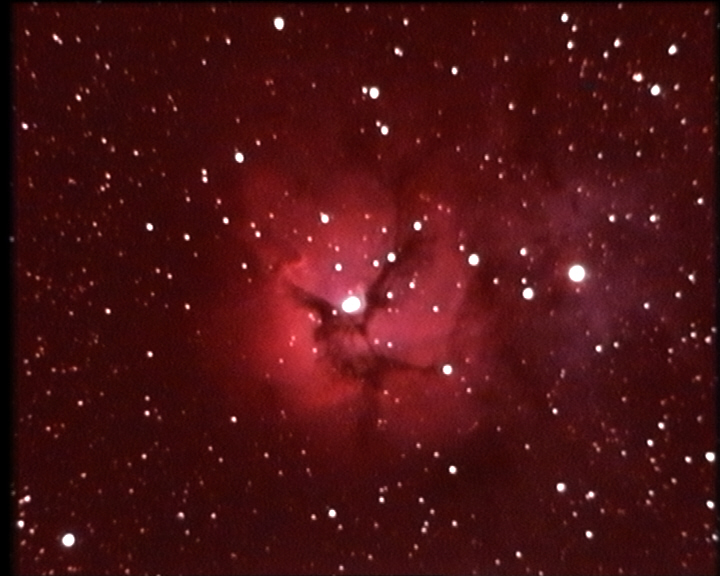
So how does the R2 camera and all of the accessories perform? In my opinion, quite well. I tested the R2 from my backyard with both a Celestron 9.25” SCT on an equatorial mount and a Celestron 6” SCT on an Alt-Az mount and obtained very nice images of globular clusters (M3, M5, M13), galaxies (M51, M63, M64, M66, M87, NGC5907) and the planetary nebula M57 with both setups. I initially viewed images directly from the camera on the included 7” LCD monitor and powered both the camera and monitor with the included Li Ion battery. Later, I used the free software, Sharpcap, to save single frame images to share as I am doing here. I also used the live stacking feature available in Sharpcap to obtain even more spectacular detail by extending the exposure time beyond the camera’s maximum of 30sec. (5 sec exposure with 6 frame averaging, called DNR).
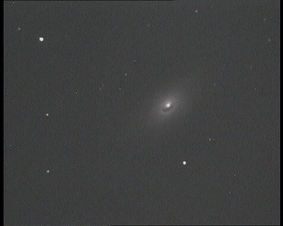 M64 6" SCT Backyard 5sec x 6 Frame Avg. M64 6" SCT Backyard 5sec x 6 Frame Avg.
At a recent in town star party I brought the R2 package including LCD monitor attached to the top of the 6” SCT to share its capabilities with members of our local astronomy club. I used the camera without a computer, using only the camera’s own internal menu which I controlled with the included wired hand control and the monitor’s brightness and contrast controls to obtain the best looking images on the screen. Beginners and old-times alike were impressed with the images that we could see of DSOs on the LCD monitor with the R2.
I also had a chance to try out the camera on the 6” SCT on the Alt-Az mount at a dark site and it provided amazing images of most of the above DSOs along with some really colorful nebulae such as M8, M16, M20 and M27.
a
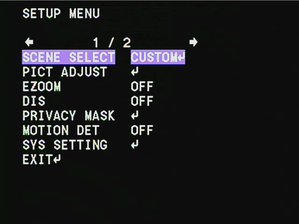
Like all analog video cameras that are really security cameras re-purposed for astronomy, the menu of the R2 can be confusing. But, to get started one really only has to focus on 3 main menu items and ignore all the rest. First is the exposure which has a maximum of 5sec (256X) and steps down by factors of 2 from there, i.e. 2.5sec (128X), 1.25sec (64X) etc. Below 1/25th sec (2X) the exposure settings are shown as 1/50, 1/100, 1/250 … 1/100000. For DSO you will want to stick with exposures somewhere between 64X and 256X. The shortest exposures are useful for planets, the moon and the sun (with appropriate solar filters, or course). To change the exposure select the “Scene Select” menu item "Custom" to get to “Shutter/AGC” where I suggest you start with “Fixed” mode to set both the exposure and the gain. Gain ranges from 6dB to 44dB. In my case, 30 or 36dB seemed to be optimal settings to boost signal without creating a washed out background. Exposure and gain settings will vary with sky conditions, location and telescope so you will have to experiment to find what works best for you. The third setting which is important to take advantage of is the within-camera frame averaging, or DNR. This can be adjusted from 0 to 6 and has the effect of averaging successive frames to smooth out the background and sharpen detail. So, if exposure is set to 5sec and DNR is set to 6, the camera will output an image after 5 sec, but will output an updated and improved image every additional 5 sec. After 30 sec the image will look the same at successive refreshes. If using an Alt-Az mount or a poorly polar aligned equatorial mount, you may not be able to use the maximum DNR and avoid star trailing. Experiment with this also. What do I like best about the R2? 1. The camera is a very good performer, providing some of the best images I have seen from a camera in the $300 or under price range. 2. The included 4.8AmpHour Li Ion battery is small and light weight yet can run both the camera and LCD monitor for 5 hours on a full charge. It will certainly power the camera alone for more than a full night's observing. For $50 you can buy a 9.8AmpHour battery for longer running time. 3. Everything comes neatly packaged with most cables already connected between components to minimize confusion. Just 4. OCT has an excellent reputation for prompt customer service. What do I think could be better? 1. The included battery has fairly short cables which can make it a challenge depending upon where you place the battery relative to the camera and monitor. OCT tells me they have a new battery with a longer power cable. 2. For some, the video cable is shorter than they would like. OCT sells a 25ft power/video cable for $12.99. When I mount everything on top of my SCT, the video cable is actually a bit longer than I need. 3. The LCD monitor is not a high end monitor, so you may want to upgrade to a nicer and larger monitor. You can use your existing television so long as it has a composite video input, which most still do. Is the R2 worthwhile? Absolutely! It is a very well thought out and assembled package. Like I said above, it has everything you need to add to your existing telescope to get started viewing the very first night. Can you buy better accessories than the ones supplied in the package? Certainly, and many prefer to go the route of sourcing the individual components themselves to save some money or to upgrade to better components. But this requires a bit more knowledge of what to buy and how to put it all together. And you will have to purchase many of these components on-line from multiple sellers. OCT has taken all of the hassle and uncertainty out of the process. And their web site has detailed instructions on how to assemble everything, a FAQ section, a guide to the camera menu and suggested starting settings for planetary and DSO objects. In addition, Mike Fowler at OCT has a good reputation for providing telephone support to help get you started. If you are interested in this camera below is a direct link to purchase it online along with the battery and 9" LCD monitor that I use myself. Links are Amazon Associate links. You can also purchase from Orange County Telescope or many other astronomy retailers. Revolution Imager2
4 Comments
|
Categories
All
Archives
January 2024
|
 RSS Feed