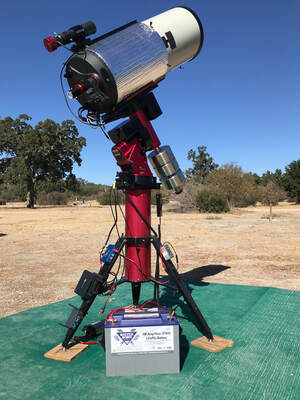
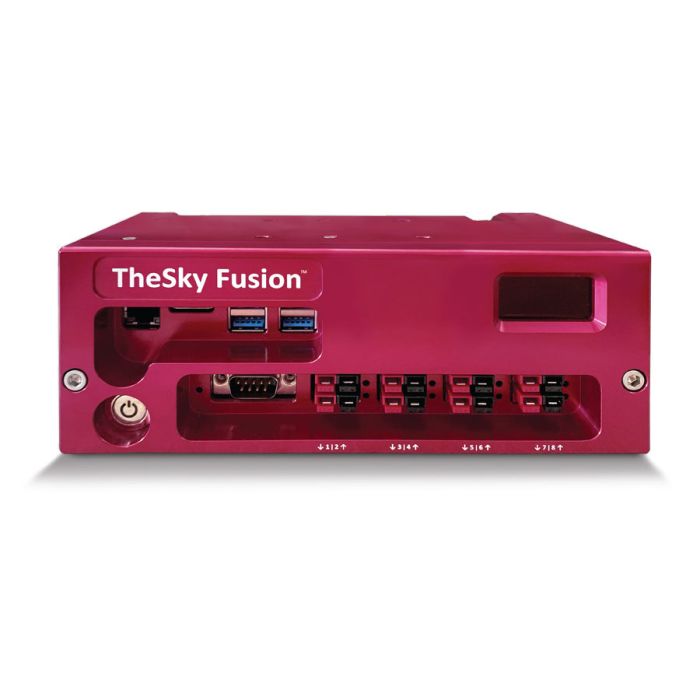
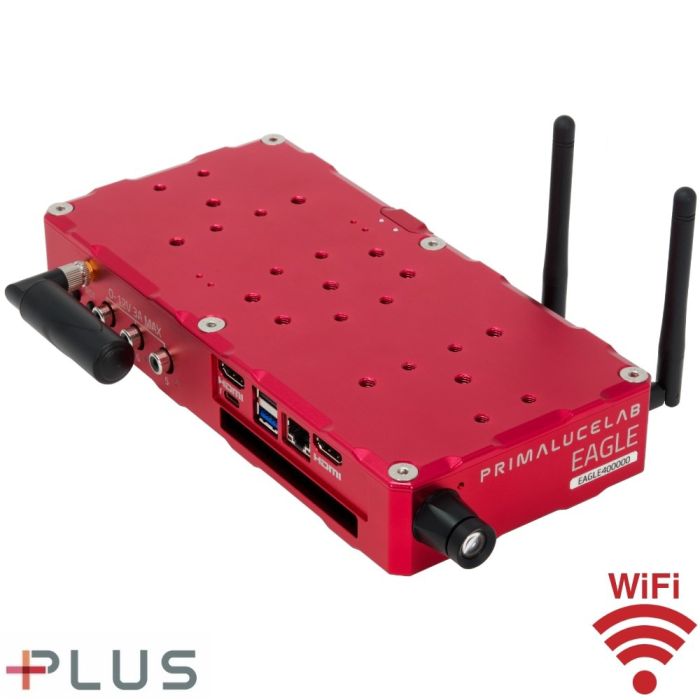
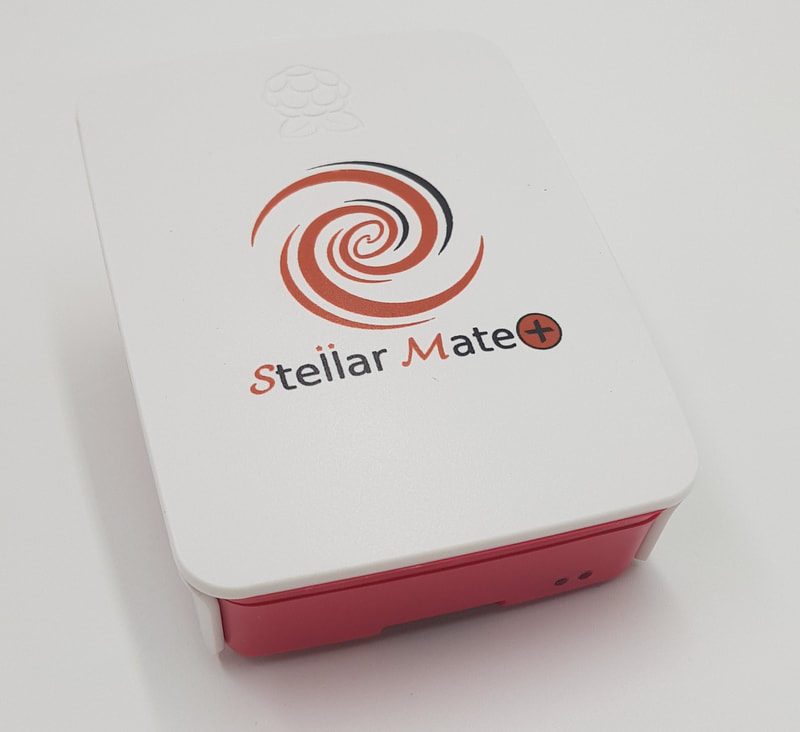
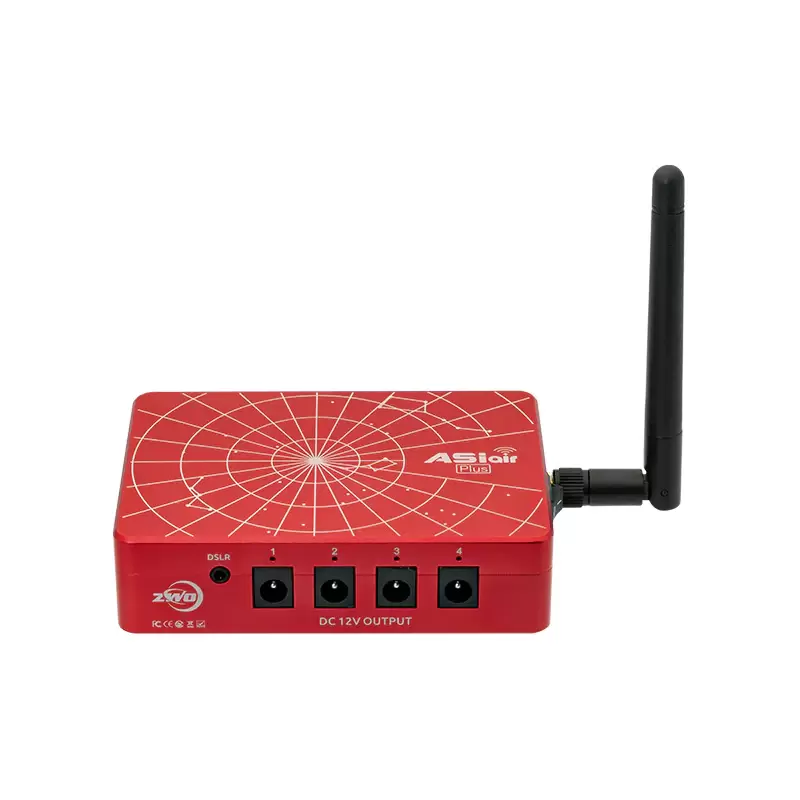
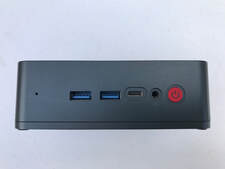
 Two years ago I decided that I was no longer willing to have my laptop tethered to my telescope with a long USB cable. When I am in the field I normally site inside my EZUp tent with my laptop to stay warm and to limit the light infringement on my neighbors. While this has worked well for many years, the cable presents a tripping hazard especially at star parties where other folks tend to stop by. And now that I have an RV I want to sit inside and not worry about running a USB cable through an open window or door. So, I looked into what is needed to go wireless and found that it was not at all difficult. First, we need computing power at the mount to run all of the software used to control the mount, camera, focuser, guider, dew heaters, etc. Second, some sort of WiFi either built into the computer or through a small travel router is required to link the computer at the mount to the device inside. Third, software designed to allow a laptop, tablet or phone to be connected to and control the computer at the mount is also needed. Let's look at each of these in detail. Off the Shelf Solutions There are a number of different ready made solutions available from the astronomy industry. On the high end there is TheSky Fusion (available from High Point Scientific) from Software Bisque. At the heart of the Fusion is a 64bit Hex-Core CPU with 4GB of RAM which drives TheSky imaging addition software which is included with the Fusion. A total of 190GB of on board memory is available to store images. It has an integrated WiFi with an external antenna to provide wireless connection to a pc, laptop, tablet or phone. It also comes with an ethernet port in case of the need for a hard wire connection and it has internal GPS. TheSky Fusion integrates USB hub capability with 4 USB3.0 ports and can operate as a power distribution hub with 8 configurable power ports capable of supplying up to 40A using Anderson Power Pole connectors for reliable connections. At 4.2lbs the Fusion is designed to be mounted on top of the telescope to allow for simpler cable management. With a price of $1895 TheSky Fusion is on the high end of off the shelf WiFi solutions but it is certainly packed with useful features combining the functions of a computer, WiFi, USB hub and power distribution all in one. Another high end solution comes from Prima Luce Labs in their line of four different telescope control units ranging in price from $795 to $2195. The least expensive model is the Eagle LE (available from High Point Scientific) while the most expensive model is the Eagle 4 Pro (available from High Point Scientific) The LE has an Intel Celeron Dual Core CPU with 4GB of RAM and 120GB SS memory while the Pro has a Quad Core I5 CPU with 16GB of RAM and 480GB of SS memory. Both provide connectivity via WiFi with an external antenna and through an ethernet port. Both models have ample USB ports and 7 power ports, 3 of which allow voltages to be configured from 0V up to 12V. The Pro model includes a GPS. Any software can be installed onto these units just like a normal pc and, like the Fusion, these units are designed to be installed on top of a telescope. The Eagles use proprietary connectors on the 4 12V non-configurable power ports so one has to add the cost of these cables to the total cost of the unit. Like TheSky Fusion Prima Luce Labs' models combine multiple capabilities into one device. ZWO's ASIAIR Plus (available from High Point Scientific)is a much less expensive WiFi solution but with less computing power and fewer bells and whistles. At the heart of the Plus is a Raspberry PI 4 processor with 32GB of internal storage and a slot for a MicroSD card. It has an external WiFi antenna and an ethernet port. Unlike the models from SB and Prima Luce Labs, the ASIAIR will only work with ZWO cameras, focusers and filter wheels but it will work with a large variety of mounts. Like the SB and PL units it also acts as a USB hub with 4 USB ports and a power distribution hub with 4 12V power ports capable of a total of 5A. The ASIAIR is also designed to be mounted on top of a telescope but has a much smaller footprint than the SB and PL units and weighs less than 0.5lbs. At a price tag of $299 the ASIR Plus is a slimmed down version both in size and capability of the more expensive SB and PL models. The Stellarmate Plus is the least expensive ready made WiFi solution at $229. Like the ASIAIR it uses a Raspberry PI 4 processor, has 2GB of RAM and includes a 32GB MicroSD card for storage. In addition to the WiFi the Stellarmate also has an ethernet port but no external WiFi antenna. It has 4 USB ports but no external power ports. Like the ASIAIR the Stellarmate is compact and light weight. Unlike the ASIAIR, Stellarmate works with a wide variety of astronomy equipment. It includes a copy of EKOS Astrophotography software and is compatible with a variety of other software applications. 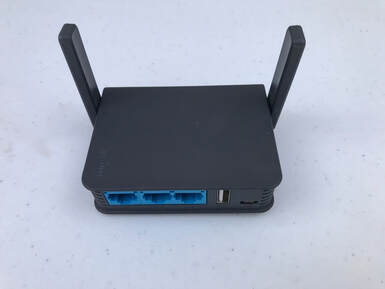 GL.iNet AR750S Portable WiFi Router GL.iNet AR750S Portable WiFi Router Build Your Own Solution While the above ready made wireless solutions will work, each has its cons. The high end models are expensive and better CPUs, and more RAM and memory can be found for less money. The lower cost models only come with a Raspberry PI processor, which works, but is limited in ultimate capability and they have very little RAM and memory. With just a little bit of effort, and not much more cost, if at all, compared to the ASIAIR and Stellarmate options, one can put together a better custom tailored solution on their own. I chose to build my own solution with the features and capabilities that I wanted. A custom WiFi solution requires three components. The first is a CPU at the mount to run all of the software used to control the mount, camera, focuser, guider, dew heaters, etc. This could be an inexpensive laptop, a headless Intel NUC or mini-pc, or a home brew Raspberry PI. I decided that the best solution for me was a headless mini-pc because it offered the best price to feature ratio. I bought a Beelink U57 mini pc with an Intel Core I5 processer, 8GB RAM and a 256GB solid state drive for under $360. And considering that I use a Pegasus Power Box Advanced which cost $330 I have all of the features that TheSky Fusion offers that I need for less than half the price. The mini pc comes with Windows 10 Pro installed so that I can run any of the typical software that I use such as The SkyX for mount/camera/focuser/guider control and image capture. I can also use SharpCap if I want to do electronically assisted astronomy (EAA), PhD for guiding, Nina or Sequence Generator Pro for image sequencing, etc. I am also not constrained to work with any one manufacturer's equipment as a mini pc works with any mount, camera and accessory that is ASCOM compatible. While my model is no longer available, you can find something similar for just $249 or choose from a wide variety of mini-pcs from Beelink with different processors, RAM, memory, USB ports, etc. While my mini-pc uses 12V, most mini-pcs or Intel NUCs require 19V which can easily be supplied using a 12V battery and a 12V to 19V DC-DC voltage converter like this one. The second component is WiFi. I found two inexpensive portable wireless routers from GL.iNet that I bought and tested, the GL-MT300N (Mango) and the GL-AR750S (Slate) models. The 750S provided greater range due to its pair of fold up antennas and also offered 5GHz capability which helps to mitigate potential interference on the 2.4GHz band from nearby equipment. I am able to set up inside my RV up to 100 feet away from the mini-pc and maintain a good connection all night long with the Slate. I can also set up just inside my house and stay connected to the mini-pc inside my backyard observatory when at home. You can read my review of the Slate and its smaller Mango alternative in my Feb '21 Blog or view my video review of these two on YouTube. There is a newer model with fold up antennas, the GL-MT1300 (Beryl), which offers twice the data rate of the Slate. The last component to make this all work is a way to make the remote connection from the laptop (or tablet or phone) to the mini-pc to use the laptop as a terminal to view and control the software on the mini-pc. There are many free remote connection options and I tried two of them, Remote Desktop and Team Viewer. I chose Team Viewer but any of the many options will work fine. The choice seems to come down to personal preference. Also, you will most likely need to have the Pro Version of Windows software installed in order to use the remote connection software, but most of the mini-pcs seem to come with that. 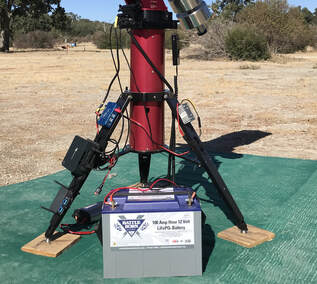 Router - Mini PC - PPBA On Tripod Leg Router - Mini PC - PPBA On Tripod Leg Set Up & Operation I choose to have my mini-pc attached to the leg of my telescope tripod since my SB MyT mount can supply all the power I need to the cameras and focuser through the mount itself. I also have through the mount wiring for the dew heater. For some people this will work, but others may choose to set up the mini-pc or Intel NUC on the telescope itself. These are small enough and light weight enough as to add little inertia to the telescope. The Slate router gets its power from the mini-pc. Power to everything comes from a LiFePO4 battery or Jackery solar generator which is fed through the Pegasus Power Box Advanced. I just power up the PPBA, turn on the mini-pc and the mount and step away to my laptop. It takes a few minutes for the router to set up its WiFi signal which I connect to with my laptop. Once connected to the router I run Team Viewer to connect to the mini-pc and begin my session with The SkyX and any other software that I need which resides on the mini-pc. Images are captured difrectly to the mini-pc and retrieved later for post processing on my laptop. When my session is over, I simply park the mount, turn off the cameras and close The SkyX and any other software (ShapCap, PhD) that I have running on my mini-pc. Then I turn off the mini-pc remotely. I can leave everything like this or I can go over to the telescope and disconnect the battery or turn off the Jackery. Additional Considerations If you go the route of a headless mini-pc or NUC I suggest that you carry with you a mouse, keypad and small LCD display. This way, if something goes wrong you can connect to the mini-pc and see what is going on. You can use a wired mouse and keypad you may already have lying around or you can purchase a wireless set similar to the one I did. You will also need a small LCD display and there are many to choose from. It is also worth knowing that the wireless routers I discussed above can also work as WiFi repeaters at home which is how I use mine. The router can be set up to connect to the home WiFi and then I can use my laptop from anywhere inside my house to connect to the mini-pc out in the observatory. Of course, how well this works depends upon the strength and coverage of your home WiFi signal, but it is a nice additional advantage of the wireless router if you do not already have either WiFi or cable at your backyard observing location. Summary For those who prefer ready made solutions there are several very good options which we discussed to choose from across a broad range of prices and features. However, if you are inclined to set up your own system you can customize it to your specific needs, including only those elements that you need and avoid paying for features you do not want. And, a custom solution will give you the greatest flexibility in terms of equipment and software compatibility. You can find a companion video I made on this topic here www.youtube.com/watch?v=quoWbvN5VWc&t=1220s Some links are Affiliate links where I can earn with purchases at no cost to the buyer which help to support this web site. If you would like to support my web site and its content please consider using my links when ordering products.
1 Comment
|
Categories
All
Archives
January 2024
|
 RSS Feed