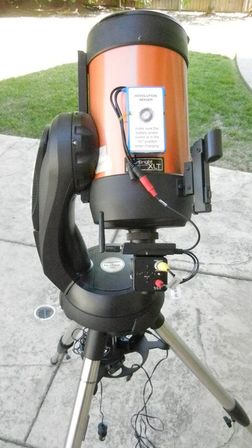
Many people who do video astronomy like the option of keeping things as simple as possible. This is one reason to choose an analog video camera at a time when many are moving to digital video cameras like those from ZWO. The analog cameras do not require a computer unlike the digital cameras. An analog camera only needs a video display device which will accept an analog input. A light weight 7" or 9" LCD will suffice for viewing by 2-3 people. Simply connect a video cable between the camera and the display to view images. The camera can be controlled with the 5 control buttons on its back, or with a hand control if the camera is configured for one.
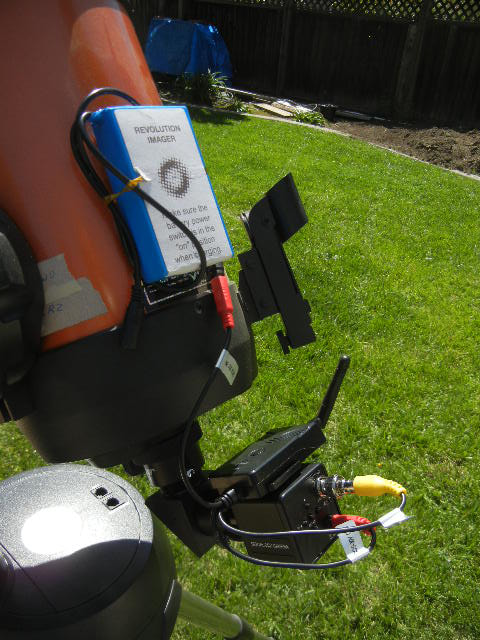
But what if you want to ditch the video cable and LCD monitor to further simplify the setup? That is quite easily done with a WiFi Emitter and your phone or tablet making the gear requirements including power all that much simpler. The WiFi Emitter connects to the camera analog video output and is compact and lightweight enough to be attached to the telescope with the accompanying double sided adhesive. It can be powered with the same 12VDC battery used to power the camera further minimizing the number of required cables. If both the WiFi Emitter and battery are attached to the telescope there will be no need for long cables nor any concern about cord wrap or snags on the mount, etc. The WiFi Emitter works with Android and Apple devices, both phones and tablets and is very simple to setup and connect. With this you can view your video images on your cell phone or tablet completely untethered by cables over distances of 150ft or more depending upon intervening obstacles. I was able to connect to my camera in the back yard from inside my house. If you also have WiFi control for the telescope mount, say through Sky Safari or similar, this setup makes for a very comfortable viewing from inside your home.
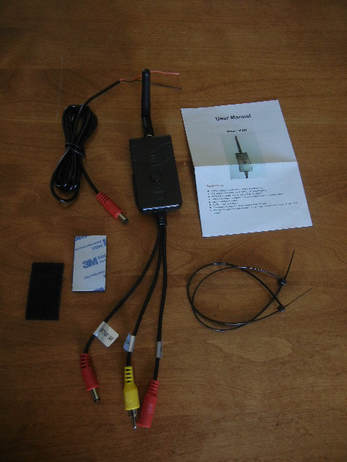
You can get a WiFi Emitter from Orange County Telescopes (OCT), the home of the Revolution Imager 1 and 2, for $90. If you are more of a DIY person you can obtain one on Amazon for less than $40 if you search for"AV WiFi Emitter". The WiFi emitter comes with 3 short cables hard wired to the unit, a screw on antenna and an instruction book. The one I bought from Amazon also came with double sided tape which I used to attach the emitter to my camera but you could also attach the emitter to your scope instead. It also included plastic cable ties and another power connector in case I wanted to hard wire the power input to a power source. The emitter sold by OCT does not have the tape, cable ties nor the extra power connector but does include an RCA to BNC adapter which is needed to connect the emitter to the camera. If the emitter you purchase does not have this adapter, you can purchase one on Amazon for a couple of dollars.
The emitter has three short cables. The yellow cable connects to the video output of your camera. This cable has a male RCA jack so you will need an RCA to BNC adapter to make this connection. The other two cables are red and are for the power connections from the battery and to the video camera. Connect the power from your battery to the red input connector which has a female DC plug and connect the other red cable with a male DC plug to the power input of your camera. The WiFi unit runs on 9 -30V DC so a simple 12V battery used to power your analog camera will suffice to power it as well. 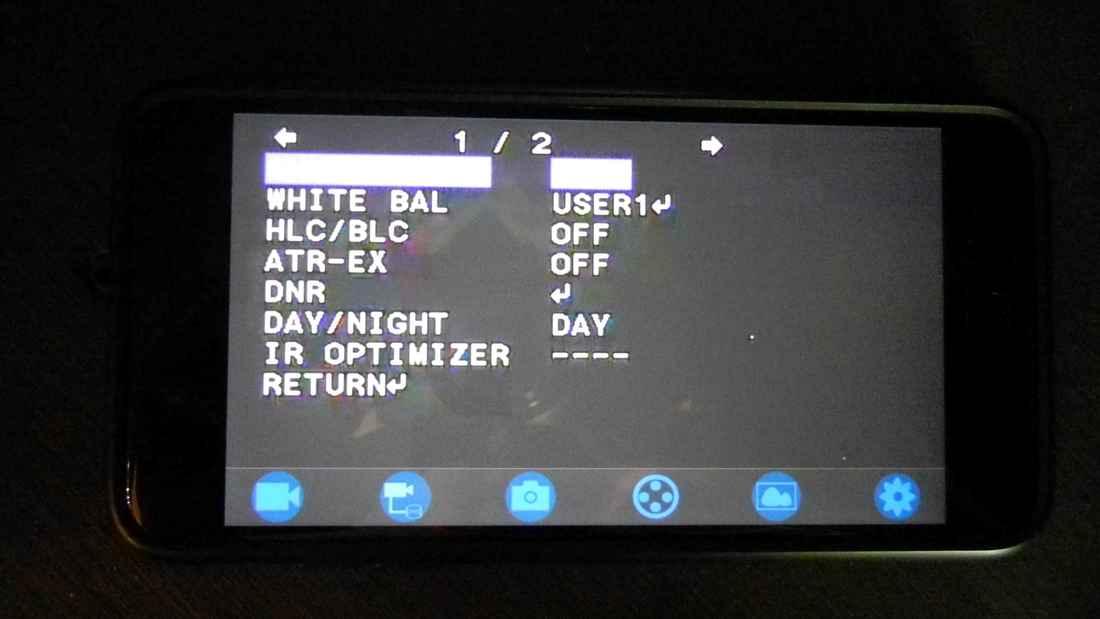
A one time setup of the required software is necessary to get started. Using you phone or tablet connect to your APP store, simply search "WIFIAV" software and install it. For iPhones and tablets this would be the Apple Store and for Android phones and tablets this would be the Google Play Store. You will see an icon on your phone that looks like the emitter broadcasting a signal from the antenna. This is the app you will need to launch whenever you want to connect wirelessly to the camera.
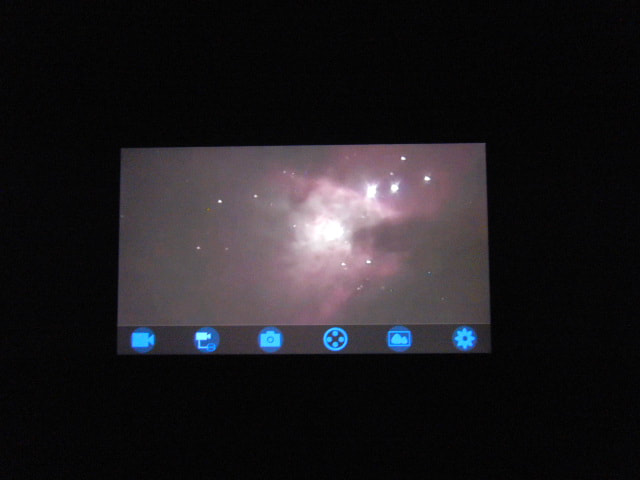
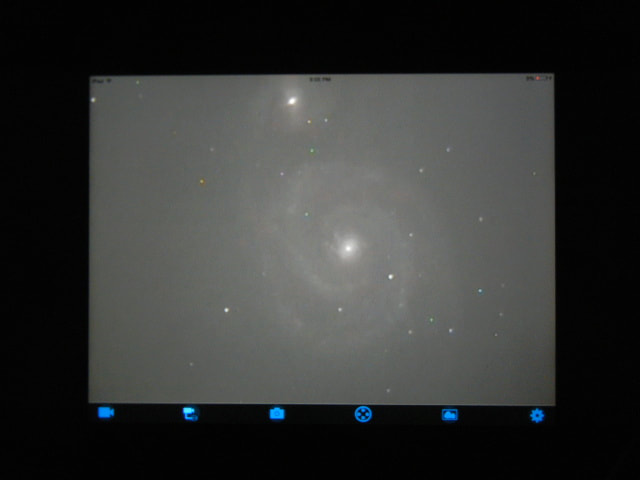
When you are ready to connect to your camera, turn on the power to your emitter and camera and you should see the Red LED on the emitter light up. Next, push the button on the emitter and you should see the green "Link" LED on your emitter light up. Now go into your phone or tablet settings and connect its WiFi to "WIFIAV". You may need to type in a password the first time you connect which is probably "12345678", and will be included with the instructions which came with the emitter. Launch the WIFIAV app on your phone or tablet and you will see a screen with 6 blue icons at the bottom and an image from your camera if you are already pointed to an object and focused. Or, you may see the camera menu screen if you have enabled that. Shown here is the camera menu for the Revolution Imager 2. At the bottom of the screen are 6 WiFi controls to capture a video, record to a DVD, save an image, check the emitter signal, go to a file folder which contains the saved images and videos, and change settings. If you plan to only view images live you need not use any of these. If you would like to save images to your phone or tablet just click on the camera icon. You can retrieve these using the file folder icon.
You are now ready to view images from your camera remotely. Just move your telescope to the object of interest and adjust the camera settings as you normally would and you are ready to view objects from planets to DSOs wirelessly on your phone or tablet. While this device makes wireless viewing a simple reality, I have to say that the image quality is definitely not as good as what I can see with the video hard wired to an LCD. I believe there is some video compression which occurs in the wifi transmitter which causes this. Nonetheless, this device enables one to step away from the telescope, view effortlessly from inside or walk around at a public outreach event and share images live without having to crowd around the telescope.
You can find the WiFI discussed in this blog and which I use in the link provided below. As an Amazon Associate I can earn from qualifying purchases through my site with no additional cost to you. This helps to defray the cost of this website.
1 Comment
|
Categories
All
Archives
January 2024
|
 RSS Feed