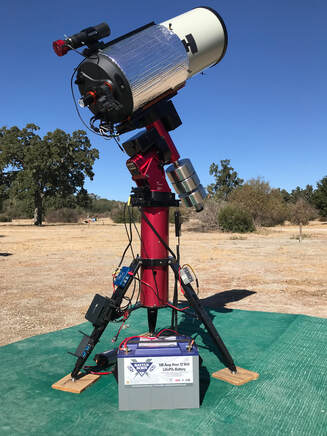
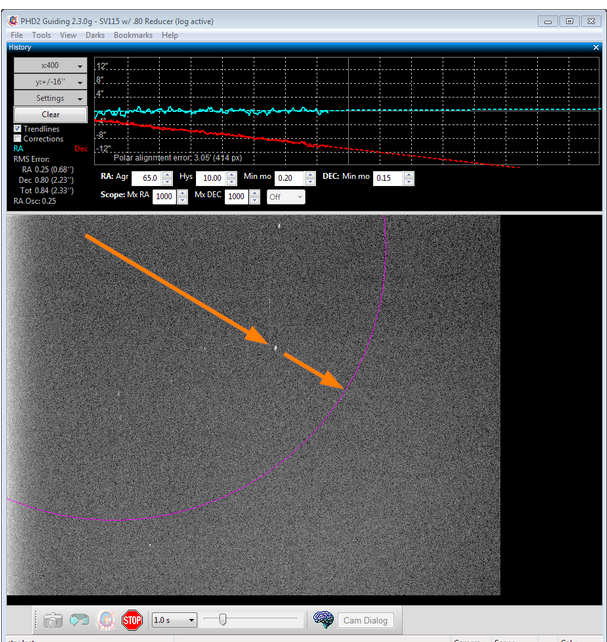
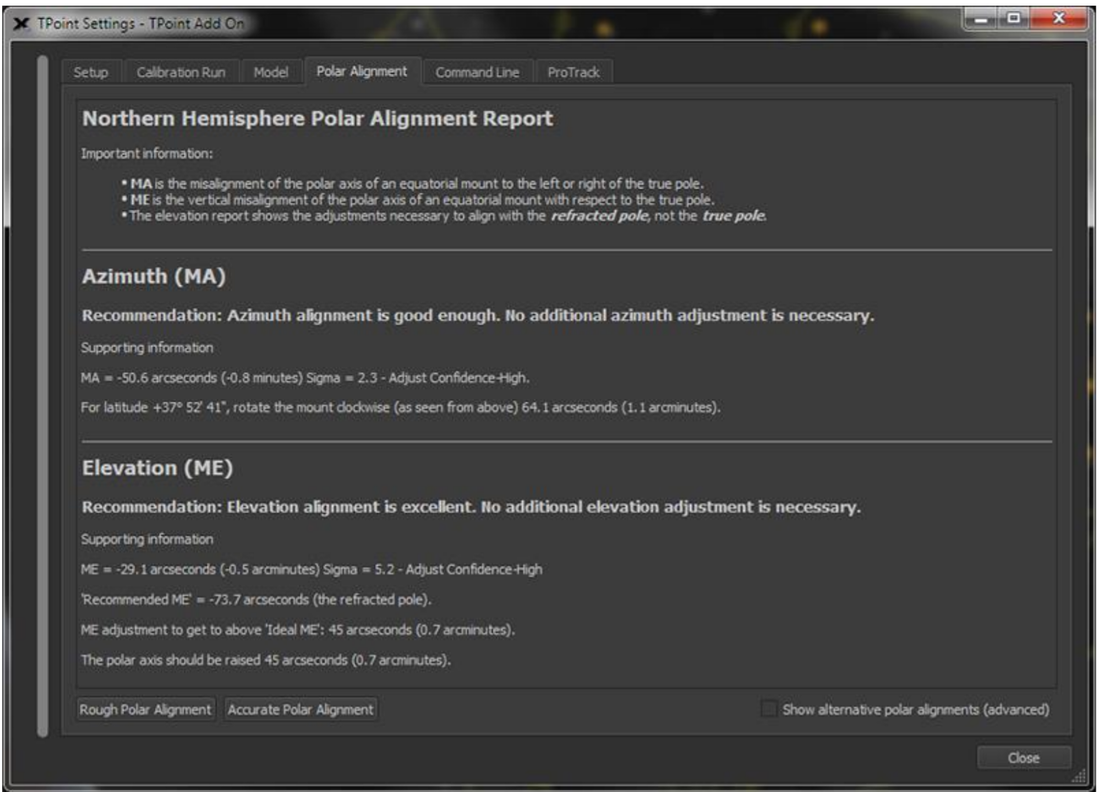
 Whether you are doing astrophotography, Electronically Assisted Astronomy or traditional visual observations it is important to understand the difference between a Polar Alignment (PA) and a GoTo Alignment and how to correctly perform each. PA requires aligning the right ascension (RA) axis of the mount to the north celestial pole. This keeps a star or other target centered in the field of view as the earth rotates on its axis. Since Alt-Az mounts have Altitude and Azimuth axes instead of RA and declination (Dec) axes, a PA is not possible with an Alt-Az mount. On the other hand, both EQ and Alt-Az mounts can be GoTo aligned. The GoTo alignment creates a model of the sky so that the mount can slew to, i.e. "GoTo", objects on command and put them within the field of view every time. This makes it much easier and faster to find objects, especially at high magnification. GoTo Alignment A GoTo Alignment requires providing the mount with enough information to build a model of the night sky. Every motorized GoTo mount will have its own alignment routine but the basic principle and inputs are the same. Inputs include accurate information on the date, time and geographic latitude and longitude to start. Next, the telescope will need to be roughly Polar Aligned by leveling the mount and pointing it's RA axis as accurately as possible toward the north celestial pole using a compass or Polaris as described in the PA section below. Using the hand control (or software emulation) you will need to slew to 1 or more stars or solar system objects, center them in the field of view of an eyepiece or camera with the hand control and then confirm that when each is centered. The mount uses the RA and Dec data for these objects, along with the date, time and location to generate a sky model. The concept is simple and the process is straight forward and only varies slightly from mount vendor to vendor For example, Celestron's GoTo mounts offer several different alignment options. The Solar System Align option simply requires that the mount be slewed to a visible solar system object like the Sun, Moon or a planet. Once the slew has been completed, the hand control is used to center the object in the field of view and then confirmed with the hand control. A Solar System Align is useful when one wants to do the alignment during daylight, but is not as accurate as a multi-object alignment. A One Star Alignment is similar except a star instead of a solar system object is used which is more accurate than aligning on the Sun or the Moon since a star is a pinpoint object which provides a higher a degree of accuracy when centering it in the field of view. A still more accurate alignment is obtained by using the Two Star procedure which is identical to the One Star alignment except that two stars are used instead of one. At the end of the Two Star alignment, the hand control will ask if you want to add one to four calibration stars. The calibration stars compensate for any offset of the telescope's axis to the mounts declination axis. The Two Star + Four Calibration Stars will provide the best GoTo model and has the greatest chance of putting objects in the center of the field of view at higher powers than the other methods. It simply adds 4 more stars on the other side of the meridian to center in the field of view. Other mount manufacturer's like Meade and Synta (Sirius, Atlas) use an identical procedure with One, Two, or more stars for alignment but do not add the Calibration Star correction. Since the GoTo alignment will be disturbed if you need to adjust the mechanical axes of the mount for the PA procedure discussed below, the GoTo alignment will most likely need to be repeated after the PA. So why not do the PA first and then the GoTo alignment. Because having a basic GoTo alignment prior to the PA is helpful so that the mount will slew to the star being used during the PA process. Unless you have a good handle on the names of the stars, you might not be able to locate the PA star easily, especially at a dark site, if the mount does not put it close to the field of view. Therefore, do the simplest possible GoTo alignment before the PA and then come back with the 2 + 4 star alignment after if using a Celestron EQ mount. 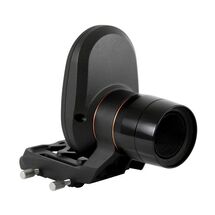 Celestron's Star Sense AutoAlign Celestron's Star Sense AutoAlign The GoTo alignment procedure for an Alt-Az mount is pretty much the same using as few as 1 star and as many as 3 stars for a more accurate alignment. Some Alt-Az alignment routines do not even require that you know the names of the stars. For instance, Celestron's Sky Align routine only requires that you slew to 3 bright objects (stars and or planets) in the sky one at a time and center them in the field of view. The 3 objects should be chosen to be as far apart as possible to provide greater precision. Once completed, the mount build the sky model and let you know the names of the 3 objects you chose. This is very convenient if you are not yet familiar with the stars in the sky. There are other routines where the mount provides a list of stars for you to pick the ones to slew to, allowing alignment with only 1 or 2 stars. Meade's AudioStar alignment procedure requires that the telescope be set to the "home" position first with it pointed north with the optical tube level. Some higher end Meade telescopes can automatically find north and the home position. AudioStar then slews to two of the brightest stars in each location so that it is easy for you to find them and center them in the field of view. There are also hardware solutions like Celestron's Star Sense AutoAlign, which can both automate and speed up the GoTo alignment process. Star Sense works only with Celestron mounts and contains a small camera and software. First time setup requires attaching it to the mount and aligning its axis to the telescope's optical axis. Star Sense then connects to the mount and slews to different parts of the sky taking images which it plate solves to determine the RA and Dec of each image. From this information it is able to build a GoTo model of the sky. 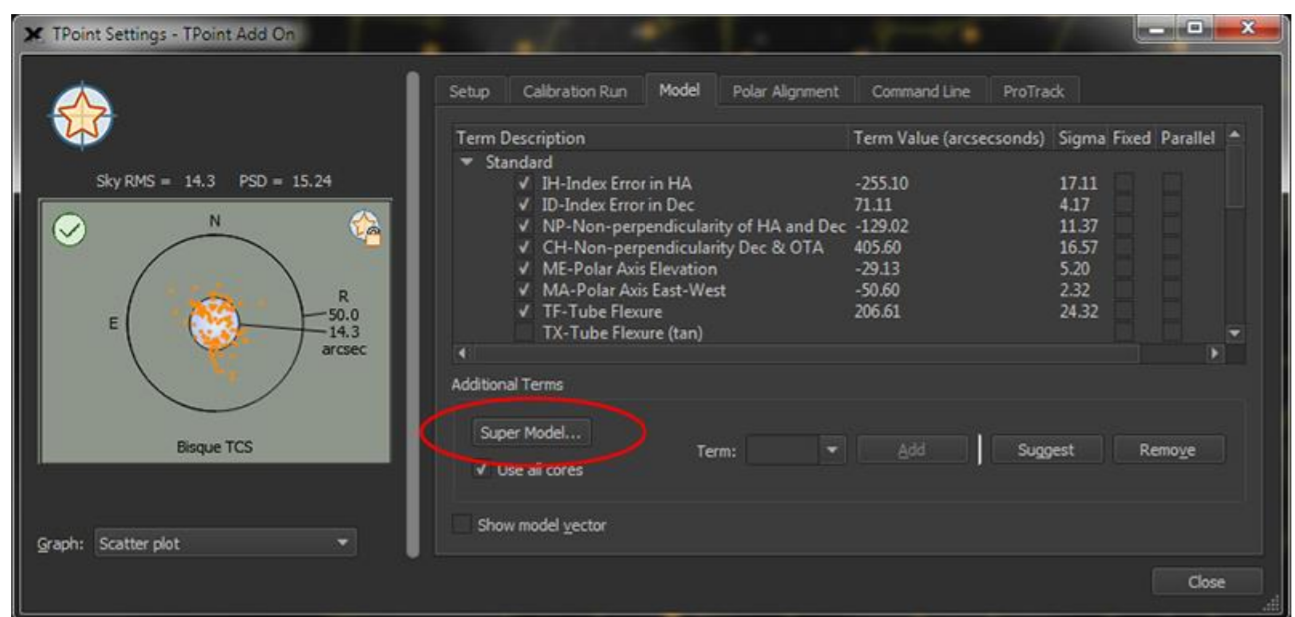 T-Point Alignment and Super Model Window. Taken from the manual. T-Point Alignment and Super Model Window. Taken from the manual. If you use The Sky X (TSX) from Software Bisque you will have access to a separate software algorithm called T-Point which generates one of the most accurate GoTo models and uses a process that is easily automated. T-Point requires a minimum of 6 points and can handle a maximum of 500 points. T-Point can be run manually by using the hand control to slew to and center each star one by one and confirming such to the software. If using a camera it is better to use the automatic mode. In this case, a map is first generated of the points to be used which should be distributed across the night sky While T-Point requires a minimum of 6 points, most will use 30 or more points for greater accuracy. Once the points have been generated, TSX will automatically slew to one point after another, take an image, and plate solve the image to determine the exact RA and Dec at the center of the image. Once all the points have been collected, regardless of whether this is done manually or automatically, a multi-parameter model of the night sky is generated and the mount is ready to put objects close to the center of the field of view every time. Obviously this process will take longer than doing an alignment with 1 to 6 points, but the automated process can do as many as 60+ points in 20 to 30min and the resulting model will be a much more precise GoTo model. Unlike the other GoTo procedures, the T-Point alignment does not need to be repeated after using T-Points PA procedure. Polar Alignment During a PA the right ascension (RA) axis of a telescope mount is aligned with the rotation axis of the earth so that a celestial object in the field of view will stay centered over time. Without a PA, the object will drift across the field of view. This is not generally a problem for a visual observer but for those doing astrophotography it will cause stars to become elongated in an exposure of only a few tens of seconds. The better the PA achieved, the longer the unguided exposure possible to maintain pin point stars in the image. This of course, also depends upon the quality of the mechanics in the mount being used which is why it is often said that the mount is the most critical component in the astrophotography setup. For EAA with live stacking, things are more relaxed, but it is still true that the better the PA the longer the exposure possible and the longer one can stack images before field rotation becomes an issue. There are many different ways to achieve a PA, some software based and others hardware based. Let's review some of these. Rough Polar Alignment A rough PA is good enough for visual work but not for EAA and astrophotography. However, it is a necessary starting point for both an accurate GoTo and PA. First, point the mount in the direction of north and level it. Do this without the telescope attached so that it is much easier to make the necessary mechanical adjustments especially if using a heavy telescope. It is not necessary to have the mount perfectly level, but the more accurately you level it the easier the rest of the procedure will be. Use a compass to find north but be careful to stand back away from the mount since the metal in the mount will affect the accuracy of the compass. Also, be aware that magnetic north (where the compass needle points) is not the same as true north (Earth's north pole). You will need to offset the position of the mount by the local magnetic declination of your location which you can look up here. For example, the magnetic declination of Adin, CA, where the Golden State Star Party is held, is 13deg 43min East (positive), which means that true north is 13deg and 43min East of where the compass needle points. It is helpful to make certain that the Azimuth adjustment is centered leaving you plenty of room to make an adjustment to the east or west as needed during the fine tuning of the Azimuth during the accurate PA step later. Next use the Altitude adjustment bolts to raise or lower the mount's altitude to match your latitude. Now mount your telescope. If your telescope has the option of using a Polar Scope you can get a more accurate rough PA by sighting through the Polar Scope and adjusting the Alt. and Az. mechanical bolts until Polaris is positioned in the field of view according to a mobile application like this one which will show where Polaris should appear in the reticle depending upon the time and your location. However, a Polar Scope will not give a good enough PA to avoid the accurate PA process so many just skip this complication and move from the rough mechanical alignment to the accurate PA. Accurate Polar Alignment The rough PA needs to be followed by one of the following procedures to obtain an accurate PA. Drift Alignment The drift alignment method is considered the gold standard for PA because it measures the actual drift of a star over time. This allows one to make continual adjustments until the drift has been reduced to a level which will not cause noticeable drift during an exposure. First locate a star close to the celestial equator and the meridian and center it in the cross hair of an illuminated reticle or the center of a camera image. The closer the star is to this location the greater the sensitivity but it is ok if a convenient star is off in RA by a bit. Next, observe the star for a length of time approximately 5X as long as your longest expected exposure and watch to see which direction the star drifts. If it drifts north, adjust the Azimuth axis so that it points more to the east. If it drifts south, adjust the Azimuth axis so that it points more to the west. You tell determine which way is north or south ahead of time by moving the telescope to the south and watch the stars move which will be to the north. Ignore any drift of the star to the east or west for now. Repeat this process until you have reduced the drift to a negligible amount. Now locate a star near the celestial equator and on the eastern or western horizon about 20 to 30 degrees of altitude. Center it in the field of view and watch for drift over the same 5X time period. If it drifts north, lower the mount's altitude. If it drifts south, raise the mounts altitude. Repeat the process until the drift is negligible. The drift alignment method is tedious and time consuming when first mastering the process but it gives direct visual feedback on the PA achieved. There are many tutorials on line which explain the drift alignment method in detail. There are also many software applications which are designed to simplify the drift alignment method, such as PHD2 's drift alignment tool. T-Point If you use The Sky X (TSX) you will have access to a separate software algorithm called T-Point which simultaneously performs a PA and a GoTo alignment. The first part of the procedure which generates a GoTo model has been described above. Once this has been completed, the next step is to begin the accurate PA routine. TSX provides a list of stars for you to choose one. Once chosen the mount slews to the star and you center it in the FOV with the hand control. Then TSX moves the mount to where the star should be if accurately PA. Next you re-center the star using only the manual controls for Azimuth and Altitude. Once completed, TSX takes into account the adjustments made and adjusts the GoTo model so that it does not have to be repeated. Celestron's All Star Polar Align Celestron has a PA routine called All Star Polar Align which does not require the ability to see Polaris. In fact, like the drift alignment method, greater PA sensitivity is achieved by picking a star near the intersection of the celestial equator and the meridian. The process will be easier if a GoTo alignment has been performed first so that the mount is more likely to put the star in the field of view. It is a good idea to have a finder, either unity of 50X, to help locate and center the star if it is not in the field of view. After the slew the star should be centered at high power and then verified with the hand control. The mount will then slew to the position where the star should be if accurately polar aligned. Next, using only the mechanical adjustments for Azimuth and Altitude, re-center the star in the field of view and confirm with the hand control. The mount will now be PA. It will be necessary to re-do the GoTo alignment since the mount has been adjusted from its position during the original GoTo alignment. 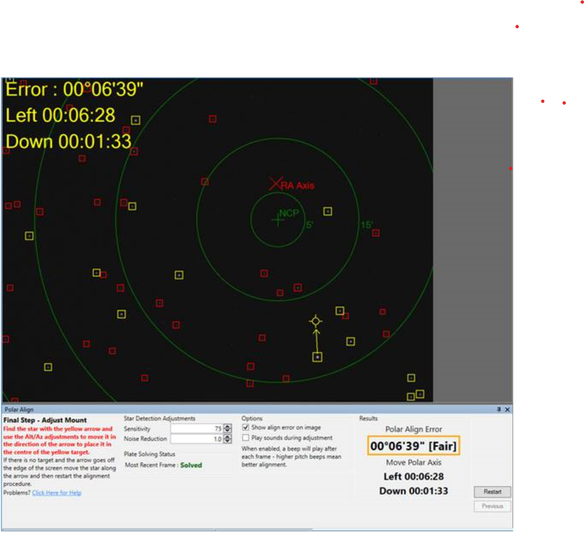 SharpCap Polar Alignment Screen taken from the manual SharpCap Polar Alignment Screen taken from the manual SharpCap Many people find the Polar Alignment routine in SharpCap software to be easy, fast and accurate. It works by taking two pictures, one around the pole and the other with the RA axis rotated 90 degrees. SharpCap then plate solves both images and determines the position of the celestial pole and the center of rotation of the RA axis. SharpCap will show how far off the PA is in degrees/minutes/seconds and give directions for which way to adjust the RA and Altitude axes. The process is repetitive until the user has decided that the offset from the celestial pole is at a minimum. You will need the pay version of SharpCap for the PA routine but the cost is rather minimal. QHY's Pole Master QHY has a hardware solution for accurate PA which, like Celestron's Star Sense, attaches to your mount and has a camera and software. QHY's Pole Master connects to you computer and takes an image of the sky around Polaris. It plate solves and then requires that the mount be rotated by ~15 degrees with the hand control and takes another image from which it determines the axis of rotation. Fromm this it will determine the adjustments you need to make in the Az and Atl mechanical knobs. So the methodology is the same as with Sharpcap except it uses a separate hardware device. Summary
So it should be clear by now that a GoTo and a Polar Alignment are not the same. You can have one but not the other such as with an Alt-Az mount. If you are using an EQ mount you will want to make sure that you perform both alignments so that you can quickly locate objects and then track them over the length of you chosen exposure without objectionable star trailing. For the beginner, these may sound daunting, but with a little practice over a couple of nights under the stars, both methods will become second nature. OPT links are Affiliate links from which I can earn commissions on purchases.
0 Comments
Leave a Reply. |
Categories
All
Archives
January 2024
|
 RSS Feed